Remark42 是一款小巧开源的评论系统,它可以由用户自行部署管理评论数据,不依赖于第三方的数据平台。
Remark42 官网本文讲述如何在 hexo 博客中添加 Remark42 评论系统。
事前准备
在使用 Remark42 评论系统之前,需要事先准备好第三方平台的登录验证应用提供程序。
展开阅读
- Apple 开发者应用
- Facebook 开发者应用
- Github OAuth 应用
- Google Cloud OAuth 应用
- Microsoft Azure Auth Register App
- Twitter(X) 开发者应用
- Yandex 开发者应用
- Patreon 开发者应用
- Telegram Bot
所有支持平台的应用创建方式都在 Remark42 官方文档 中有详细介绍。
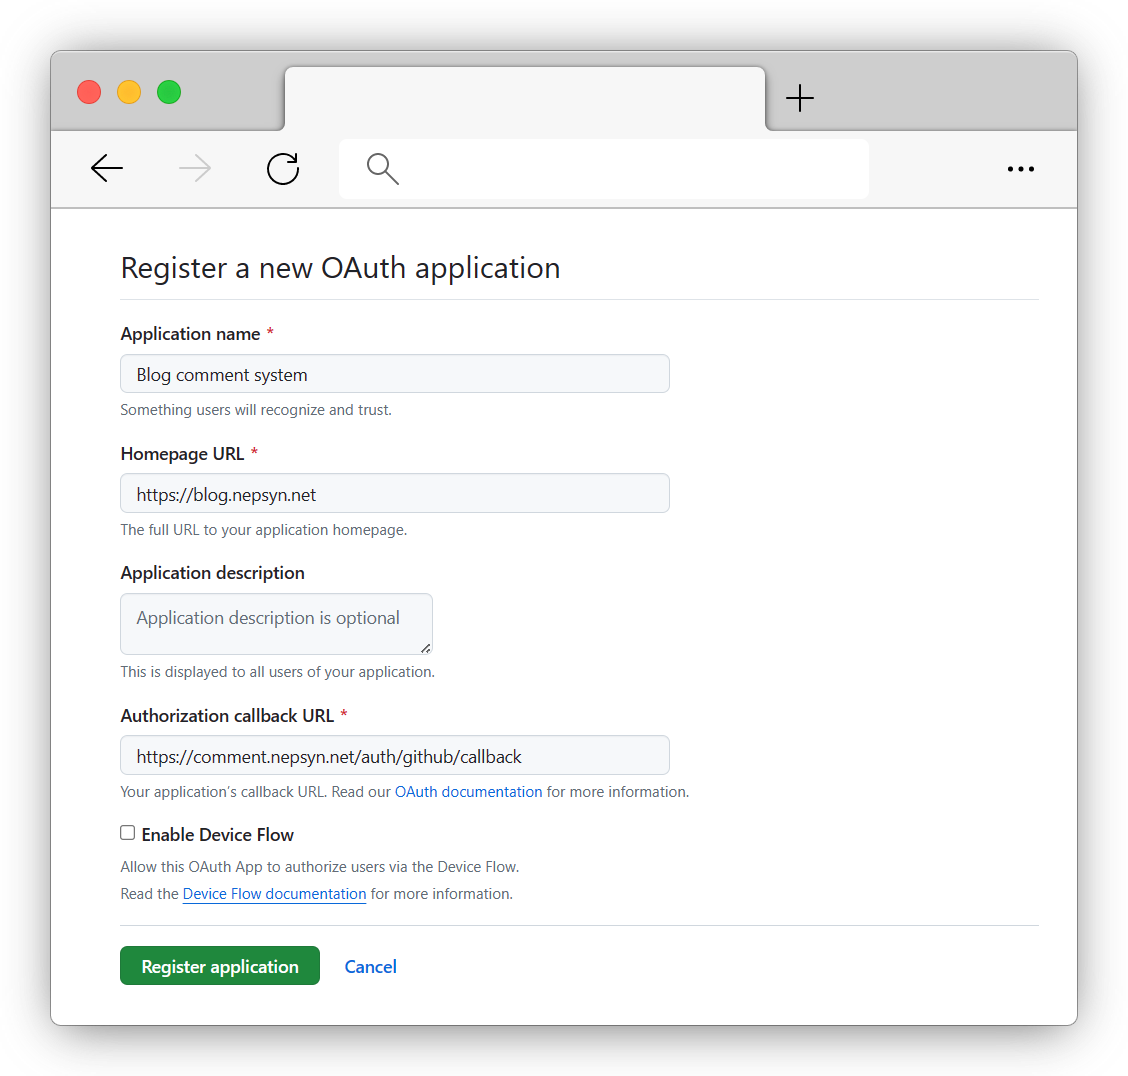
这里以 Github OAuth 应用为例,首先登录 GitHub OAuth 应用管理控制台,点击 New OAuth App 按钮。
然后在信息页面中填入评论系统的应用信息。 注意 ,在 Authorization callback URL 输入框中填入 评论系统待部署域名 + /auth/github/callback,如下图所示。
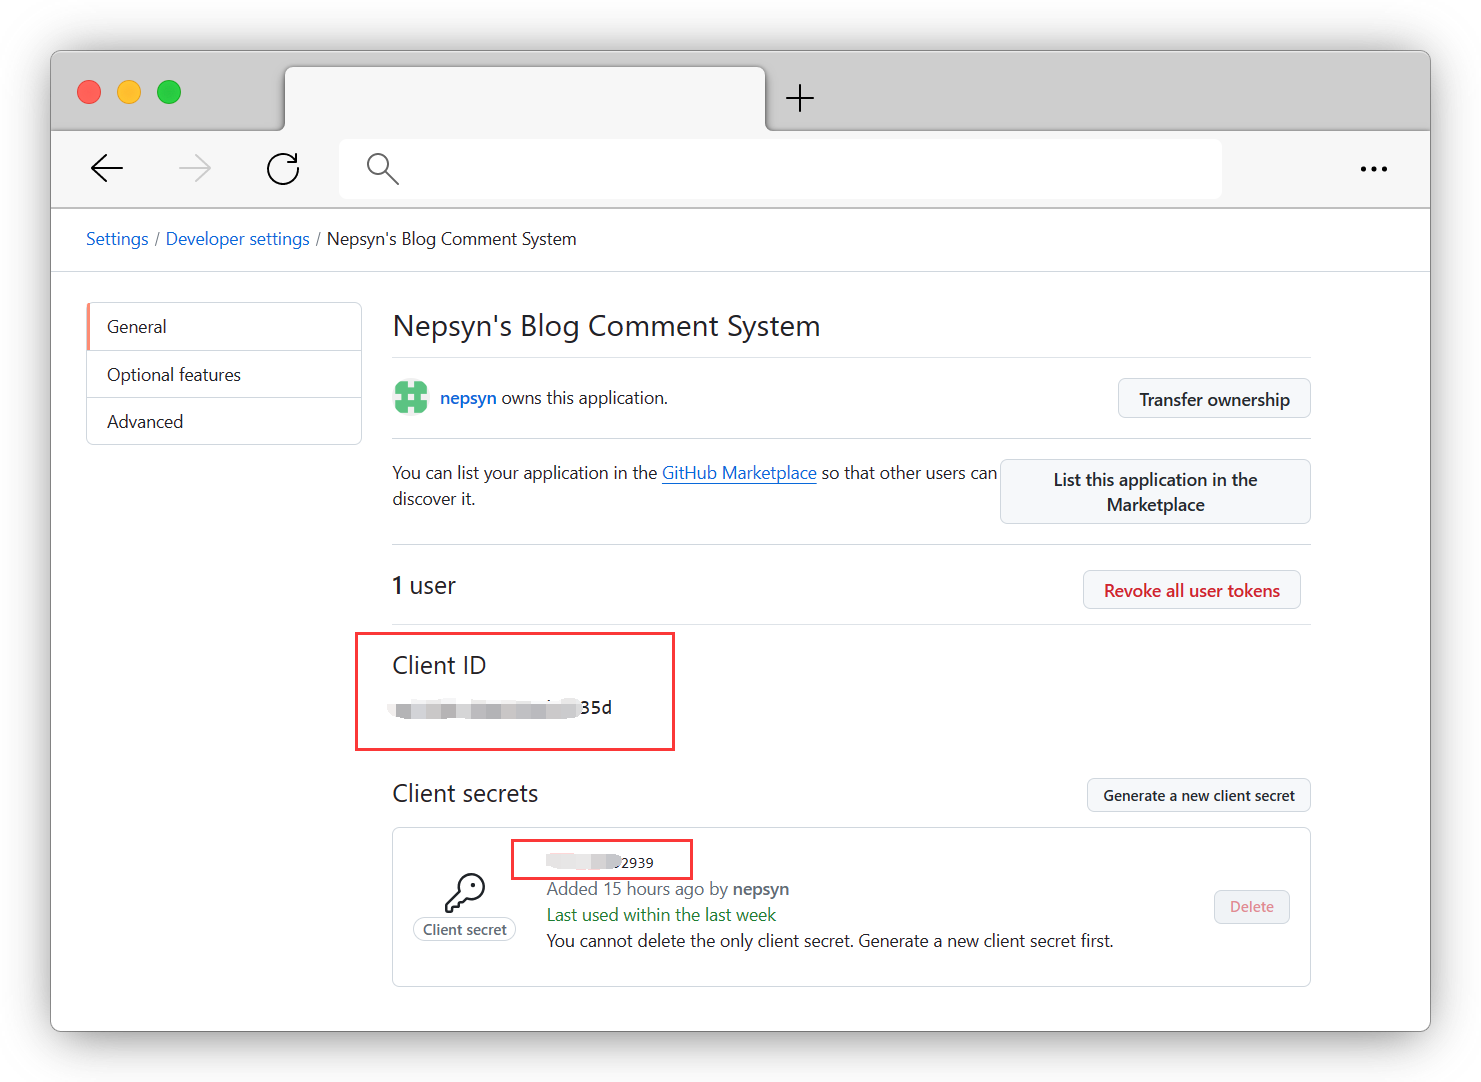
然后点击 Register application 即可跳转到此应用的管理页面。在管理页面中点击 Generate a new client secret 创建一个新的密钥。
创建后记录 Client ID 和 Client secret 两个信息,在 Remark42 启用 GitHub 验证方式时会用到。
在添加完各个平台的验证应用程序之后就可以开始部署 Remark42 啦。
部署
首先需要在服务端部署 Remark42,推荐使用 Docker Compose 部署。
复制 docker-compose.yml 的内容并做自行修改。
docker-compose.yml
version: "2"

services:
  remark:
    # remove the next line in case you want to use this docker-compose separately
    # as otherwise it would complain for absence of Dockerfile
    build: .
    image: umputun/remark42:latest
    container_name: "remark42"
    hostname: "remark42"
    restart: always

    logging:
      driver: json-file
      options:
        max-size: "10m"
        max-file: "5"

    ports:
      - "8080:8080"
    #  - "443:8443"

    environment:
      - REMARK_URL=https://comment.nepsyn.net # 改成 Remark42 部署域名
      - SECRET=xxxxxx # 改成别人一辈子猜不出来的密钥
      - DEBUG=true
      - AUTH_ANON=true # 禁止匿名评论时注释掉
      - AUTH_GITHUB_CID=xxxxxx # 替换为 GitHub Client ID
      - AUTH_GITHUB_CSEC=xxxxxx # 替换为 GitHub Client Secret
    volumes:
      - ./var:/srv/var
使用命令启动 Remark42 应用程序。
docker compose up -d
之后访问部署宿主机的 8080 端口就可以看到 Remark42 应用程序的运行情况啦。
hexo 中配置 Remark42
Remark42 部署完成后,我们还需要在 hexo 的页面中引入一段代码文件。
<script>
  // Remark42 的前端配置
  var remark_config = {
    host: 'https://remark42.example.com',  // 更改为 Remark42 的部署域名
    components: ['embed', 'last-comments']
    theme: localStorage.getItem('theme') === 'dark' ? 'dark' : 'light', // 自定义的主题逻辑
    locale: 'zh',
  }

  !function(e,n){for(var o=0;o<e.length;o++){var r=n.createElement("script"),c=".js",d=n.head||n.body;"noModule"in r?(r.type="module",c=".mjs"):r.async=!0,r.defer=!0,r.src=remark_config.host+"/web/"+e[o]+c,d.appendChild(r)}}(remark_config.components||["embed"],document);
</script>
此外,还需要在页面中加入显示评论的容器。
<div id="remark42"></div>
至此就大功告成啦,刷新网页看看 Remark42 评论的效果吧。